Tiling images directly within Interface Builder, without the need for any coding, can significantly streamline your UI design process and save valuable time. This approach allows designers to focus on the visual aspects of their applications, making it easier to create aesthetically pleasing interfaces. In this post, we will guide you through the step-by-step process of tiling images effectively and share additional tips to enhance your image tiling experience.
By leveraging these techniques, you can achieve a polished and professional look for your app’s UI, ensuring that your images are seamlessly integrated and visually appealing.
Why Tile Images?
Tiling images is a technique used to create repeating patterns or backgrounds in your app’s user interface. It’s particularly useful for creating seamless backgrounds or filling areas with a pattern that can expand or contract based on the device’s screen size.
Step-by-Step Guide to Tiling Images
1. Add an Image to Your Asset Catalog
Start by adding the image you want to tile to your asset catalog in Xcode. Ensure the image is appropriately sized for tiling, meaning it should be able to repeat seamlessly.
2. Enable Slicing in Interface Builder
Once your image is in the asset catalog:
- Select the image asset.
- Go to the “Editor” menu.
- Choose “Show Slicing.”
The image will now appear with a darker overlay and a “Start Slicing” button. This mode allows you to specify how the image should be sliced for tiling.
3. Configure Slicing for Tiling
Click “Start Slicing” and select the appropriate slicing type. The slicing tool allows you to define insets for the image, which determine how the image is stretched or tiled.
- Edge Insets: Define the margins around the image that should remain unstretched. The central part of the image will be tiled.
- Center Mode: The center part of the image can be repeated or stretched depending on your configuration.
In most cases, you’ll want the Left, Right, Top, and Bottom insets to be zero, and the Width and Height to match the image dimensions. This setup ensures the image tiles seamlessly.
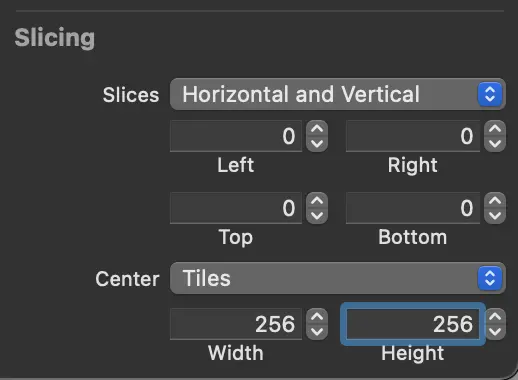
Slicing Interface
4. Adjust Content Mode for Proper Tiling
To ensure your image tiles correctly, set the image view’s content mode to Fill rather than Fit. The Fill mode repeats the image to fill the available space, whereas Fit scales the image to fit within the space, which may not give the desired tiling effect.
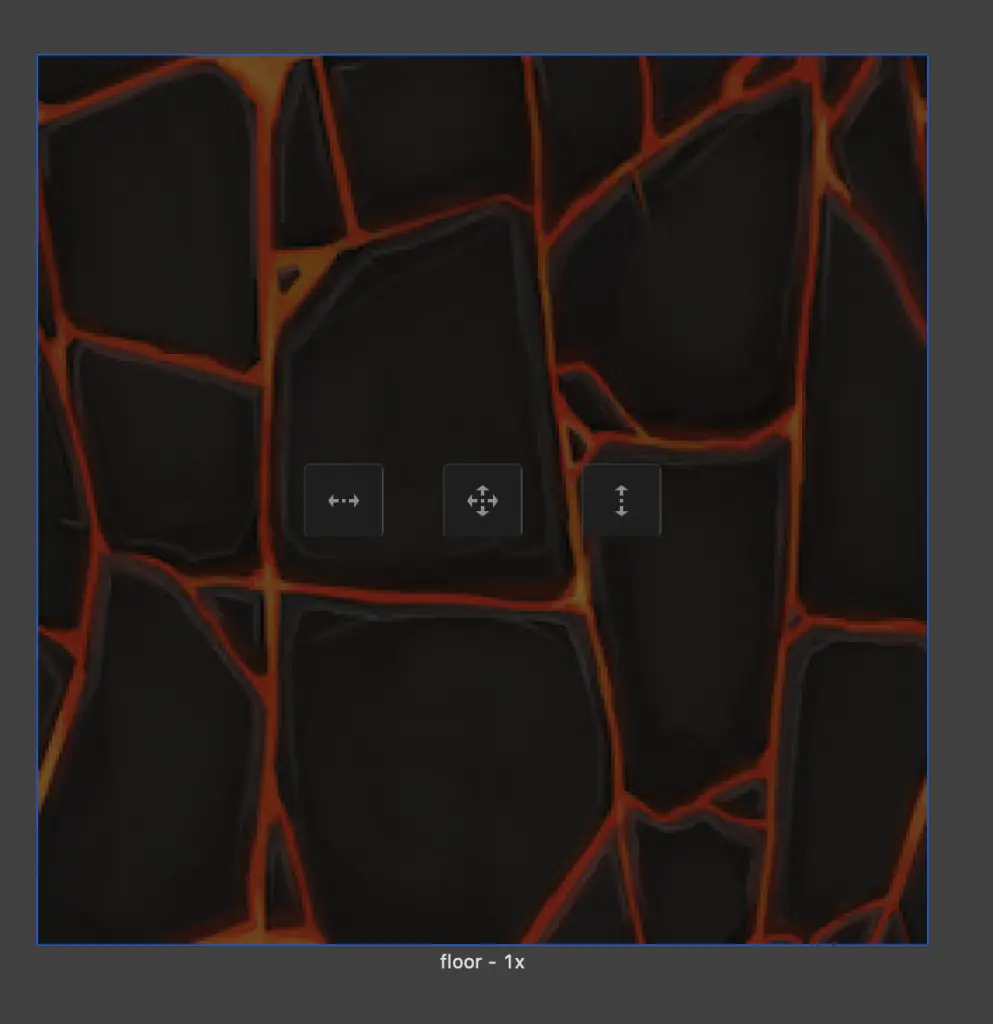
Tiling Configuration
Tips for Effective Tiling
- Use Seamless Patterns: Ensure your images are designed to tile seamlessly without visible edges or breaks.
- Experiment with Insets: Play around with different slicing insets to achieve creative tiling effects, such as borders or padding.
- Optimize Image Size: Large images can increase your app’s memory usage, so consider optimizing your images for size without sacrificing quality.
Go Wild with Your Imagination
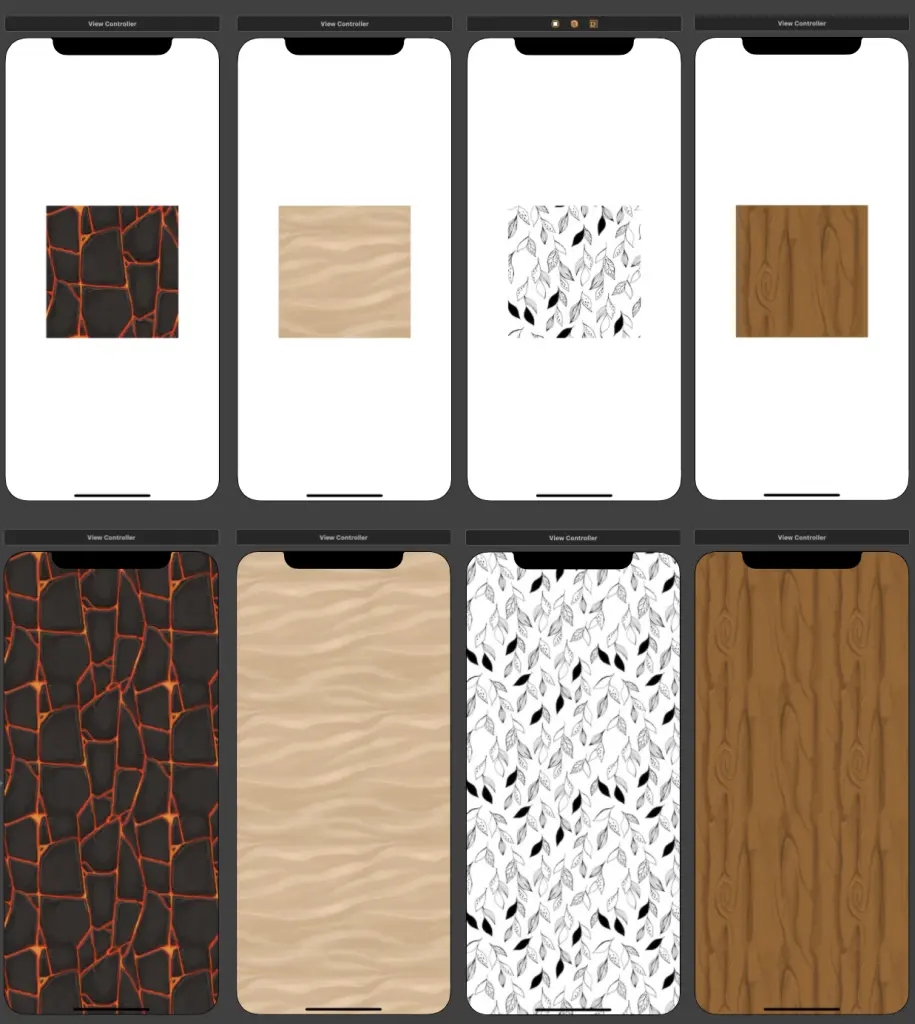
Tiling offers endless possibilities for creativity in your app design. By experimenting with different images and configurations, you can create visually stunning interfaces. Below is an example of a simple pattern tiled across a view:
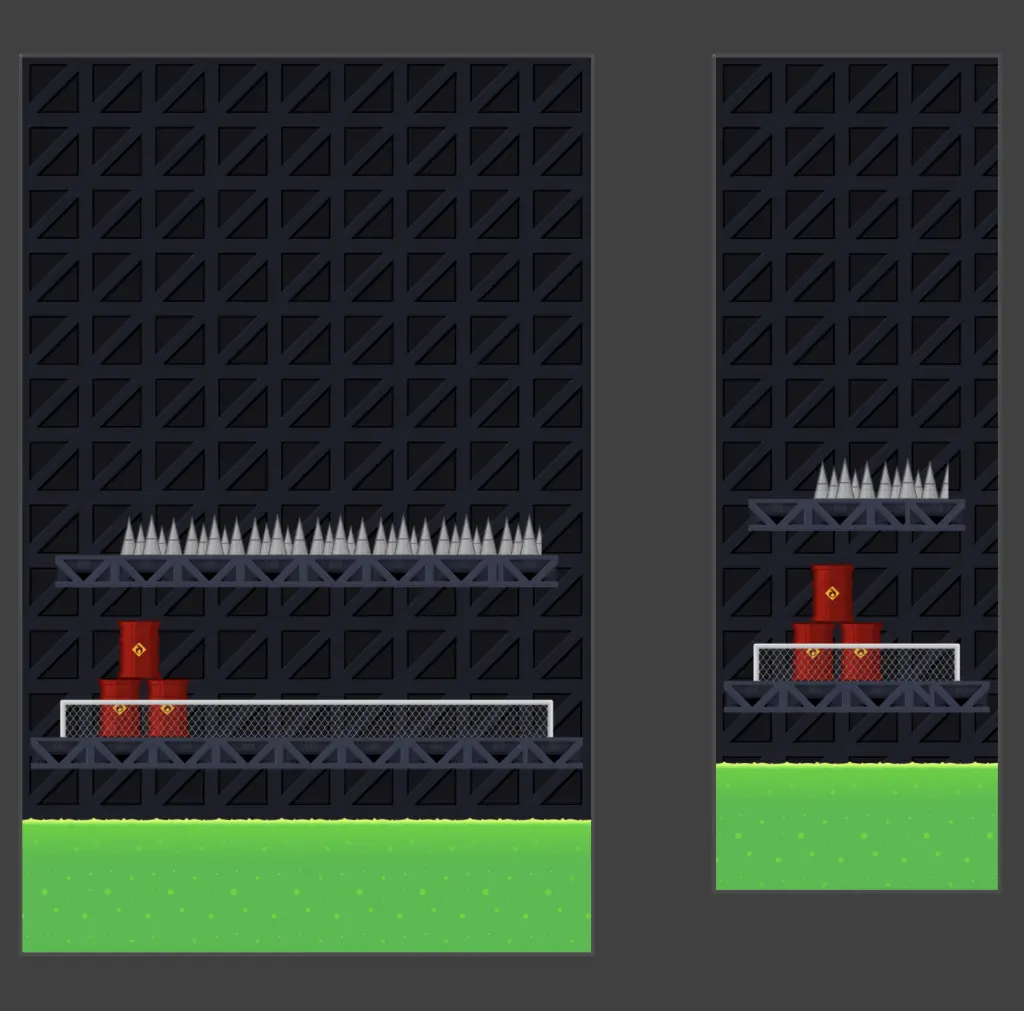
Example of Tiled Images in Interface Builder
Conclusion
Tiling images in Interface Builder without code is a powerful technique that can simplify your design process and enhance your app’s visual appeal. With the right tools and a bit of creativity, you can create dynamic, scalable backgrounds and patterns that elevate your user interface to the next level.

